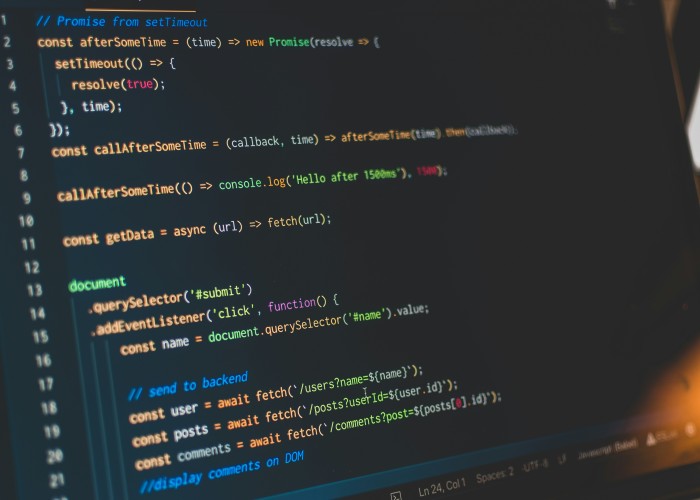
If you’ve ever worked with JavaScript events, you might have noticed that clicks, hovers, and input events sometimes behave in ways that seem unexpected.
Understanding event bubbling and capturing is essential for building responsive, maintainable, and bug-free applications. javascript event bubbling vs capturing.
In this guide, we’ll explore:
- The event flow model in JavaScript
- Key differences between bubbling and capturing
- Practical examples for web development
- Best practices to control event propagation
By the end, you’ll be able to manage events like a pro, ensuring your UI behaves exactly as intended.
What is Event Propagation in JavaScript?
Event propagation refers to how an event travels through the DOM.
When a user interacts with an element (like clicking a button), the event doesn’t just fire on that element. Instead, it traverses the DOM hierarchy, which allows parent elements to also respond to the event.
JavaScript has two main phases of event propagation:
- Capturing phase – The event travels from the root down to the target element.
- Bubbling phase – The event travels from the target element back up to the root.
By default, most events in JavaScript bubble, meaning they propagate from child to parent elements unless explicitly handled otherwise.
JavaScript Event Bubbling Explained
Event bubbling occurs when an event starts from the target element and then moves upwards through its ancestors.
Example of Event Bubbling
<div id="parent" style="padding:20px; border:1px solid black;">
  Parent Div
  <button id="child">Click Me</button>
</div>

<script>
document.getElementById('parent').addEventListener('click', () => {
  console.log('Parent clicked');
});

document.getElementById('child').addEventListener('click', () => {
  console.log('Child clicked');
});
</script>
Behavior:
- Clicking the button logs:
Child clicked Parent clicked - First, the event fires on the child (target element).
- Then it bubbles up to the parent element.
Key Points:
- Bubbling allows delegated event handling – you can attach a single listener to a parent to manage multiple child elements.
- Most DOM events bubble by default, including
click,input, andkeydown.
JavaScript Event Capturing Explained
Event capturing is the opposite of bubbling. The event starts from the root of the DOM and moves downwards to the target element. javascript event bubbling vs capturing.
Example of Event Capturing
document.getElementById('parent').addEventListener(
  'click',
  () => console.log('Parent clicked'),
  true // 'true' enables capturing phase
);

document.getElementById('child').addEventListener('click', () => {
  console.log('Child clicked');
});
Behavior:
- Clicking the button logs:
Parent clicked Child clicked - Here, the parent listener runs first because it’s in the capturing phase.
- Capturing is less commonly used but is useful for intercepting events before they reach the target.
Event Flow: Capturing vs Bubbling
Understanding the event flow is crucial:
- Capturing phase – Events travel top-down:
document → body → parent → child. - Target phase – The event reaches the actual target element.
- Bubbling phase – Events travel bottom-up:
child → parent → body → document.
Document
   |
   Body
     |
     Parent Div
       |
       Child Button (target)
- Capturing phase: Document → Body → Parent → Child
- Target phase: Child
- Bubbling phase: Child → Parent → Body → Document
Stopping Event Propagation
Sometimes, you don’t want an event to bubble or capture further.
event.stopPropagation()– Stops the event from traveling further in both phases.event.stopImmediatePropagation()– Stops the event and prevents other listeners on the same element from firing.
Example: Stopping Bubbling
document.getElementById('child').addEventListener('click', (e) => {
  console.log('Child clicked');
  e.stopPropagation(); // Prevents bubbling
});

document.getElementById('parent').addEventListener('click', () => {
  console.log('Parent clicked');
});
Behavior:
- Clicking the child logs only:
Child clicked - Parent listener is not triggered because bubbling is stopped.
Event Delegation with Bubbling
Event delegation leverages bubbling to attach a single listener to a parent element instead of multiple children.
Example:
<ul id="list">
  <li>Item 1</li>
  <li>Item 2</li>
  <li>Item 3</li>
</ul>

<script>
document.getElementById('list').addEventListener('click', (e) => {
  if (e.target.tagName === 'LI') {
    console.log(`Clicked on ${e.target.textContent}`);
  }
});
</script>
Benefits:
- Fewer event listeners improve performance.
- Works even if new child elements are added dynamically.
- Only possible because events bubble up to the parent.
Practical Examples: When to Use Capturing vs Bubbling
| Scenario | Recommended Phase |
|---|---|
| Intercept form submissions before reaching inputs | Capturing |
| Implement click delegation on menus, lists, or tables | Bubbling |
| Log user interactions on parent containers | Bubbling |
| Custom analytics before events reach elements | Capturing |
Tip: Most of the time, bubbling is sufficient. Use capturing when you need to intercept events before they reach the target.
Common Mistakes Developers Make
- Assuming all events bubble – Not all events bubble (e.g.,
focus,blur,mouseenter). - Adding multiple listeners unnecessarily – Delegation is more efficient.
- Forgetting to stop propagation when needed – Can lead to unexpected behavior.
- Misusing capturing – It’s rarely required unless intercepting or logging events globally.
Best Practices for Handling Events
- Use event delegation for dynamic child elements.
- Always stop propagation only when necessary.
- Combine capturing and bubbling thoughtfully to manage complex UI interactions. javascript event bubbling vs capturing.
- Test nested elements to understand which listener fires first.
- Document your event logic to avoid confusion in larger applications.
Advanced Tip: Passive Event Listeners
- Use
{ passive: true }to indicate that the listener won’t callpreventDefault(). - Helps improve scroll performance.
document.addEventListener('scroll', () => {
  console.log('Scrolling');
}, { passive: true });
- Passive listeners are compatible with bubbling and capturing.
FAQs: JavaScript Event Bubbling vs Capturing
Q1: Do all JavaScript events bubble?
- No, some events like
focus,blur, andmouseenterdo not bubble by default.
Q2: What is the difference between stopPropagation and stopImmediatePropagation?
stopPropagation()stops the event from traveling further.stopImmediatePropagation()also prevents other listeners on the same element from firing.
Q3: Can capturing and bubbling be used together?
- Yes, you can attach listeners in both phases for the same event on the same element.
Q4: Which is better for performance: bubbling or capturing?
- Bubbling is generally preferred for event delegation, reducing the number of listeners.
Q5: How does event delegation work?
- A parent element listens for events on all its children, leveraging bubbling to handle dynamically added elements efficiently.
Conclusion
Understanding JavaScript event bubbling vs capturing is crucial for writing clean, efficient, and maintainable code.
- Bubbling is ideal for delegated event handling and general UI interactions.
- Capturing is useful for intercepting events before they reach the target.
- Stop propagation allows precise control over which elements respond.
By mastering these concepts, developers can build sophisticated web applications, improve performance, and avoid common pitfalls in event management.javascript event bubbling vs capturing.


Leave a Reply